viz.
Visual Rhetoric - Visual Culture - Pedagogy
Site informationRecent Blog Posts
|
Creating a Narrated Slideshow with SoundSlides Plus
Submitted by emcg on Wed, 2010-10-27 19:37
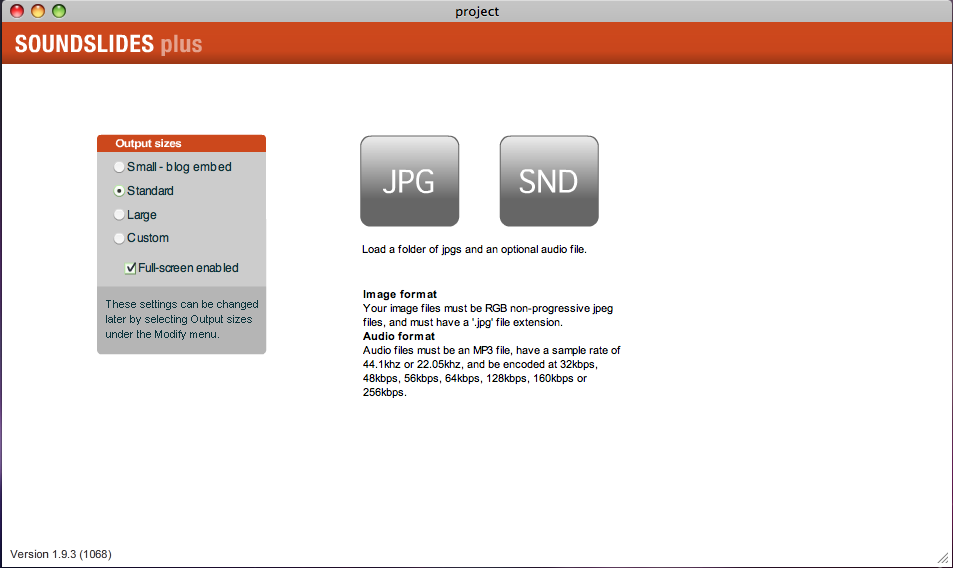
Image Credit: Screenshot of my SoundSlides project Thanks to Alicia Dietrich at the HRC’s Cultural Compass blog, we at viz. learned about this easy-to-use software that allows journalists to create sleek, sophisticated slideshows. But how does SoundSlides translate to the writing classroom? A mixed—but mostly enthusiastic—review after the jump. SoundSlides’ appeal lies in its simplicity. As indicated by the initial screen (pictured below), sound + slides are really all one needs to get started: upload your folder of images, upload your audio, and you are well on your way to creating a beautiful slideshow.
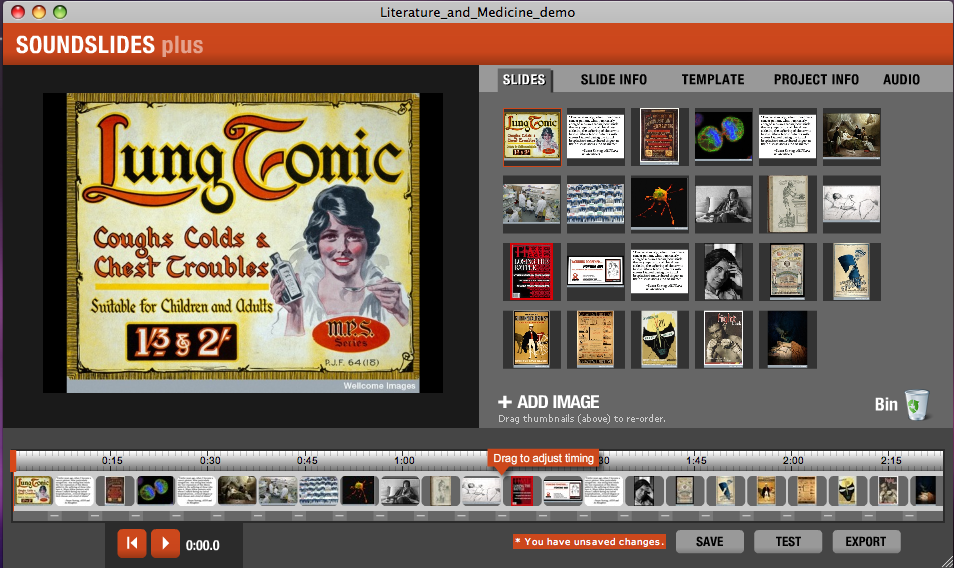
Image Credit: Screenshot of SoundSlides While the straightforward interface is praiseworthy, it means that quite a bit of initial preparation is required before you actually sit down to compose: students will need a pre-recorded narration or soundtrack, and a folder of images that will fit the length of their audio. They may also need to convert their files, as SoundSlides accepts only jpg and mp3 formats. In addition, they will not be able to edit the audio file once it’s been imported into SoundSlides. Given that a narrated slideshow asks students to consider the interplay of word and image, the advance planning required by SoundSlides functions as a possible constraint. In fact, when I sat down to create a sample narrative slideshow for my students, I found myself gravitating instead toward iMovie, which allowed for a more dynamic exchange between images and sound. To me, this at times messy exchange was a crucial part of the composition process. It was when I started putting the narration and images together that I realized which images didn’t work or found places where an additional image was needed. That said, SoundSlides Plus is still a relatively flexible tool. A simple drag-and-drop process enables you to rearrange and delete images. A "movement" tab animates individual slides to create a more dynamic, video-like feel. A timeline at the bottom of the screen allows you to customize the length of time that each image appears; click the play button at any time to preview the results.
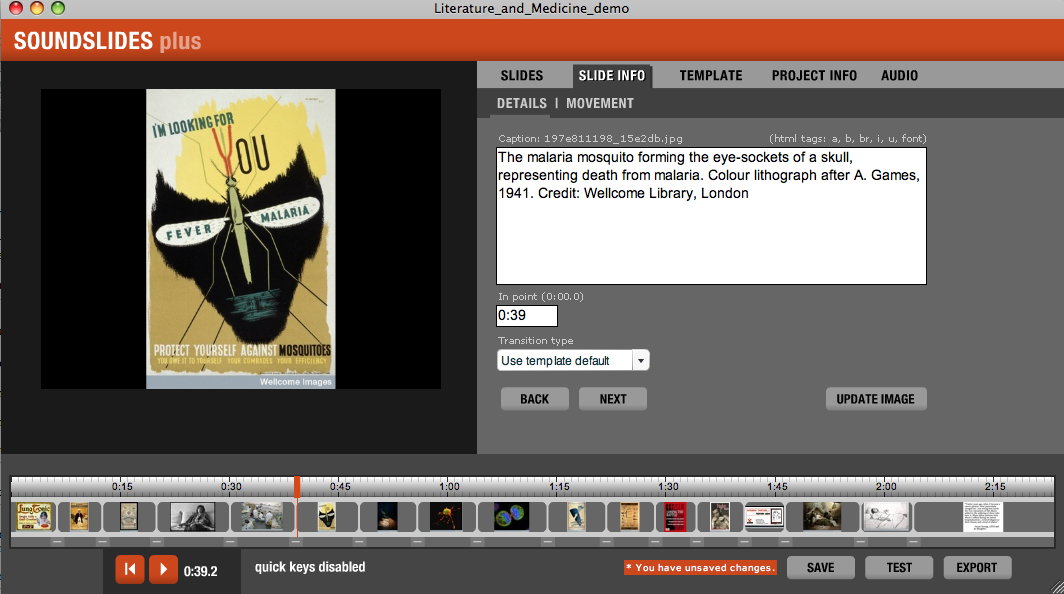
Image Credit: Screenshot of my SoundSlides project From a pedagogical perspective, another worthwhile feature is the ease of attributing images with captions. Given our emphasis in class on choosing and citing images responsibly, it’s nice that the journalistic context for the software puts attribution front and center. Exporting your slideshow and publishing it to the web require a bit of care: this tutorial from the Knight Digital Media Center at UC Berkeley is quite helpful in walking you through the process. For instructors here at the Digital Writing and Research Lab, students will need to store their slideshow materials in their "Teacher Folder" in order to play their presentation on your course web site. The pedagogical value of SoundSlides Plus depends a great deal on the context of your course and the specific goals of the assignment. Although SoundSlides doesn't allow students full control over manipulating and presenting their work, the simple interface allows them to focus on discovering, supporting, and structuring their argument, while still introducing them to the process of multimedia composition. I also like that my students will end up with an attractive, professional-looking slideshow they can take pride in. This project will still entail a great deal of choice and creativity, but the emphasis will be on practicing and extending the skills they’ve built this semester. I’ll be introducing SoundSlides in class next week and will report back on my students’ experiences using the software. In the meantime, look for additional perspectives on SoundSlides Plus from Cate and Elizabeth in the coming weeks. Tags:
|
|
Recent comments
2 years 29 weeks ago
2 years 44 weeks ago
2 years 44 weeks ago
2 years 50 weeks ago
3 years 4 weeks ago
3 years 4 weeks ago
3 years 4 weeks ago
3 years 6 weeks ago
3 years 6 weeks ago
3 years 6 weeks ago